Cherry spoon sweet is a wonderful way to satisfy anyone’s sweet tooth. The flavor is so intense that one or two teaspoonfuls are usually enough to let you return to a diet of celery or baby carrots without feeling cheated.
The only serious drawback to this recipe is that you really need a cherry pitter. Spoon sweet is normally made with fresh sour cherries, but sweet cherries work fine too. Fresh cherries have pits in them, and the pits are virtually impossible to remove from the fruit without a pitter. You either have to buy a pitter or ask your friends if they have one they are willing to lend.
 We are fortunate to have such a friend. Rich and his wife Audrey bought a neat pitter that fits on top of a standard Mason jar. You just set the pitter on top of a pint jar, secure it with a canning ring and start pitting your cherries. The pits fall into the jar, making the operation neat and clean.
Spoon sweets probably originated in areas surrounding the eastern Mediterranean. Today they are popular in Egypt, Turkey, Greece, the Balkans and Russia. They are a variety of preserve that may be made with many different fruits and even with some vegetables and flowers. Once they have been cooked in the thick syrup, spoon sweets can be canned and stored like jellies and jams so it is possible that they were invented by people who hated to watch fresh fruits go to waste when there were more than could be consumed when they were in season.
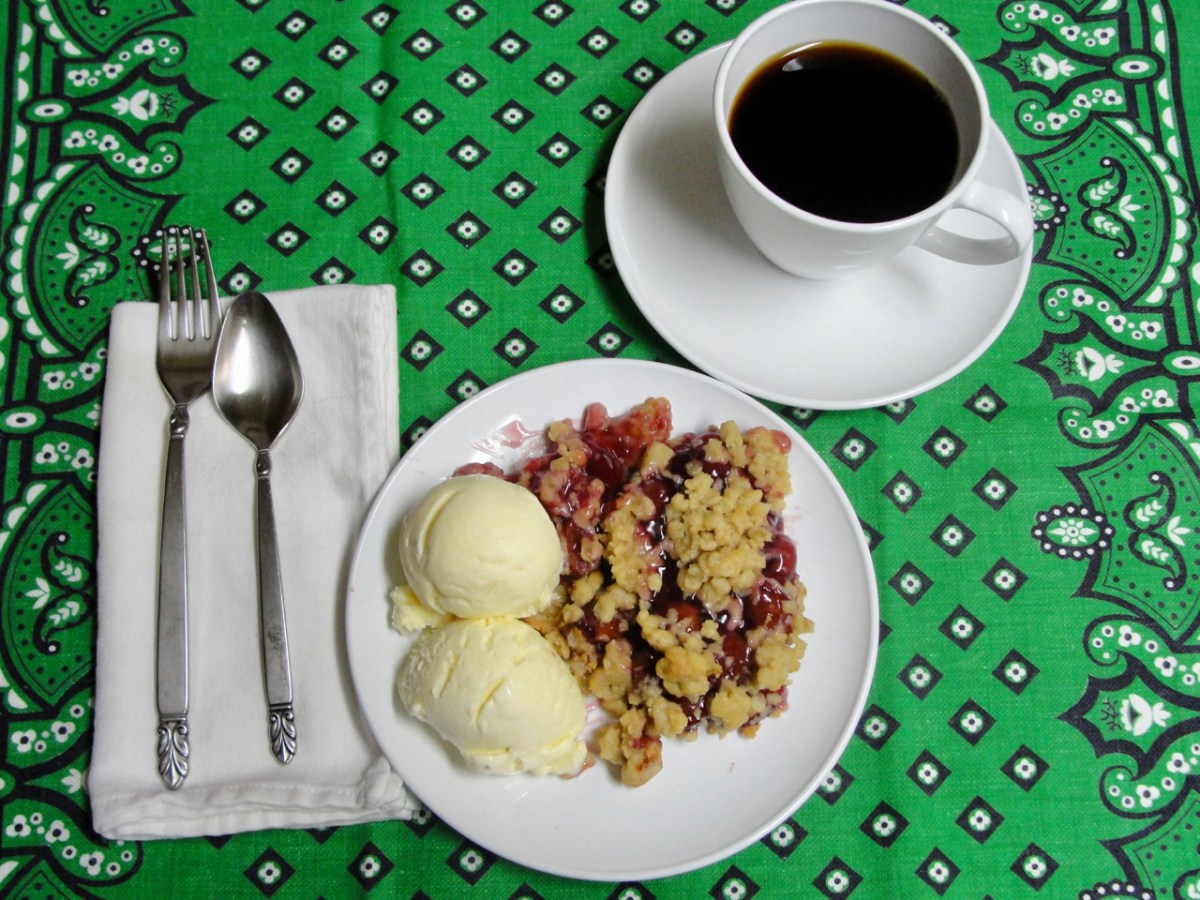
If you are like me, you will enjoy making and sharing this lovely dessert with friends and relatives. Give it a try. If it is too sweet for you by the spoonful, garnish a dish of ice cream with some or spread it on your toast at breakfast.
INGREDIENTS:
1 lb. cherries
2 cups granulated sugar
1 cup water
1/4 tsp. vanilla extract
1 T lemon juice
PROCEDURE:
Wash and remove the stems and pit the cherries and spread half of them in a medium-sized glass or stainless steel bowl. Sprinkle one cup of sugar over the cherries. Spread the rest of the cherries over the sugar, cover them with the second cup of sugar and gently pour a cup of cold water into the bowl. Tip the bowl to make sure that all the sugar has been moistened.
Cover the bowl with plastic wrap and put it into the refrigerator for about twelve hours. Take the bowl from the refrigerator and stir the cherries to make sure that the sugar has mixed with the water and cherries. Stir gently to keep from crushing any cherries. Pour the cherries and juice into a three quart saucepan. Set the pan over high heat until the mixture begins to boil.
Reduce the heat and simmer the cherries for twenty-five minutes, stirring occasionally and skimming off any foam that forms. Gently stir in the vanilla extract and simmer the cherries for another fifteen minutes.
Put a couple of saucers into the freezer after you stir in the vanilla. When the cherries have simmered the fifteen minutes, take one of the chilled saucers from the freezer and drip two or three drops of juice from a spoon on to the saucer. If the juice is the right consistency, after a few seconds it will barely run when you tip the saucer a little.
This resembles the test used to check if jelly is done. In this case, however, you are testing whether you have a thick syrup. If the drops are runny, continue simmering the cherries for another three minutes, then test again.
When the juice passes the drip test, stir in a tablespoon of lemon juice and simmer for two more minutes. Remove the pan from the stove and set the pan aside to cool.
After the cherries are at room temperature, pour them into a container with a good lid. A quart canning jar works fine.
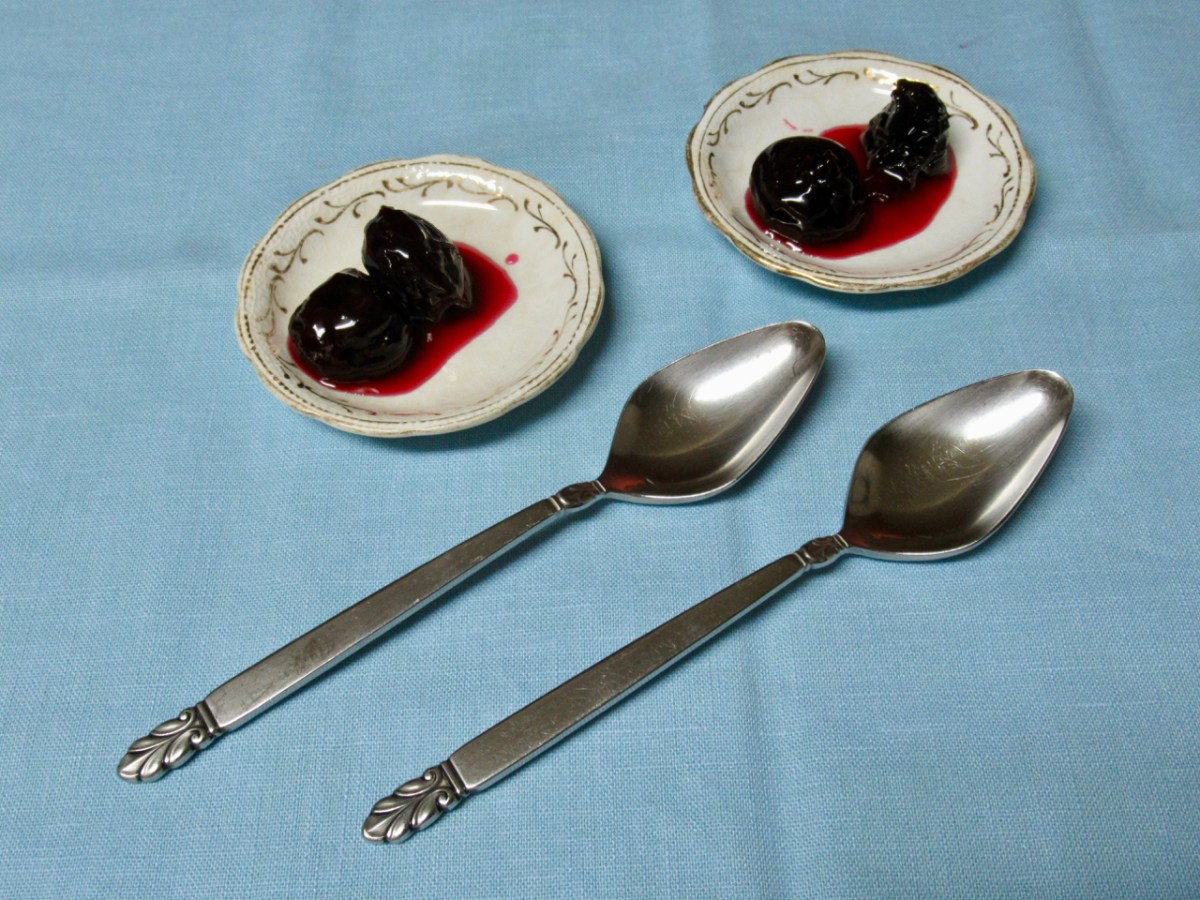
Store your cherry sweet in a cool cabinet or pantry and serve it by teaspoonfuls in small dessert dishes or over ice cream or yogurt. It will keep several days without refrigeration.
NOTES: Be as careful as you can to keep from mashing the cherries. Part of the charm of this sweet is that the fruit retains its identity in the syrup.
The cherry pitter occasionally misses the pit, so you should be cautious when eating cherry sweet. I have found that it helps to position the cherry with the stem scar upwards towards the plunger.