On Sunday afternoons in summer, our family went “a-berrying.” In late July we picked raspberries, which was challenging. Raspberries have an annoying habit of sagging in your pail. You set the pail down when it looks nearly full, rest a few minutes in the shade and come back to find that your nearly full pail is now only three-fourths full.
Blackberries don’t do that. Raspberries are like teenagers filling a car for a ride around town. I can almost hear them saying, “Hey guys, get in. We’ll scrunch together and there’ll be plenty of room.” Blackberries are different. They’re like friends who want shoulder room when you crawl into the tent. The first thing you hear is “Don’t crowd us.”
Wild blackberries are larger than wild raspberries, and unlike their red cousins, blackberries have a solid core, which explains why they don’t sag as much in your pail. The only serious disadvantage of blackberries is that blackberry bushes are equipped with thorns. Reach for a particularly nice cluster of berries and you may find your arm trapped by a cane that you overlooked in your eagerness. With luck and some patience you can often retrieve the arm with only minor damage. If not, think of the words of wisdom from my father. “Stop fussing. You’ll heal.” It’s true.
My mother would scrub our hands and arms and sometimes put lotion on the deeper scratches. Then she and Dad would sort and wash the berries. When we found “good picking” we would bring home gallons of berries that Mom turned into jam, canned for winter desserts or baked into pies.
I don’t have my mother’s recipe for blackberry pie. Perhaps she never wrote it down, as it was a pie she had been making since she was a young girl. She stirred berries, flour, sugar, salt and cinnamon together and spooned the fruit into a crust she made while the oven was heating. When the wind-up timer went “Brrrng,” she would check the result and either take the pie from the oven or give it a few more minutes.
The first few years we lived in the country we had a wood cook stove, so baking a pie in August made the kitchen even more uncomfortable, but we liked them and blessed the cool breezes that often came in the evening as we ate our warm pie. If we were really lucky, our way home from the blackberry patch took us through Hayward, so Dad could buy a quart of ice cream packed by a soda jerk at the drug store. Pie and ice cream: Heaven!
This recipe produces a pie that reminds me of the ones we ate every August and September when I was growing up.
INGREDIENTS:
Double crust dough for nine inch pie
4 cups wild blackberries
1/2 cup all-purpose flour
3/4 cup + 1 T sugar, divided
1/4 tsp. cinnamon
Dash of salt
1 tsp. lemon juice
1 teaspoon butter
1 T milk
Preheat the oven to 400º.
Blend the flour, three-quarters of a cup of sugar, cinnamon and salt together in a mixing bowl. Stir the blackberries into the dry ingredients. Add a teaspoon of lemon juice and mix thoroughly.
Spoon the blackberry filling into a nine-inch pie plate lined with an unbaked crust. Drop three or four small dabs of butter on top of the filling. Using your fingers, dampen the edges of the bottom crust with water, then cover with the top crust. Seal the edges of the top crust to the bottom with your fingers, then trim the edges and finish by pressing with a fork or using your thumbs to make a scalloped edge.
Paint with milk and sprinkle sugar lightly over the surface. Cut four inch-long slits in the top crust and bake the pie on a center shelf for about an hour until the filling is bubbling out of the slits. You might want to put some aluminum foil under the plate in the oven to catch any juice that bubbles out of the pie as it bakes.
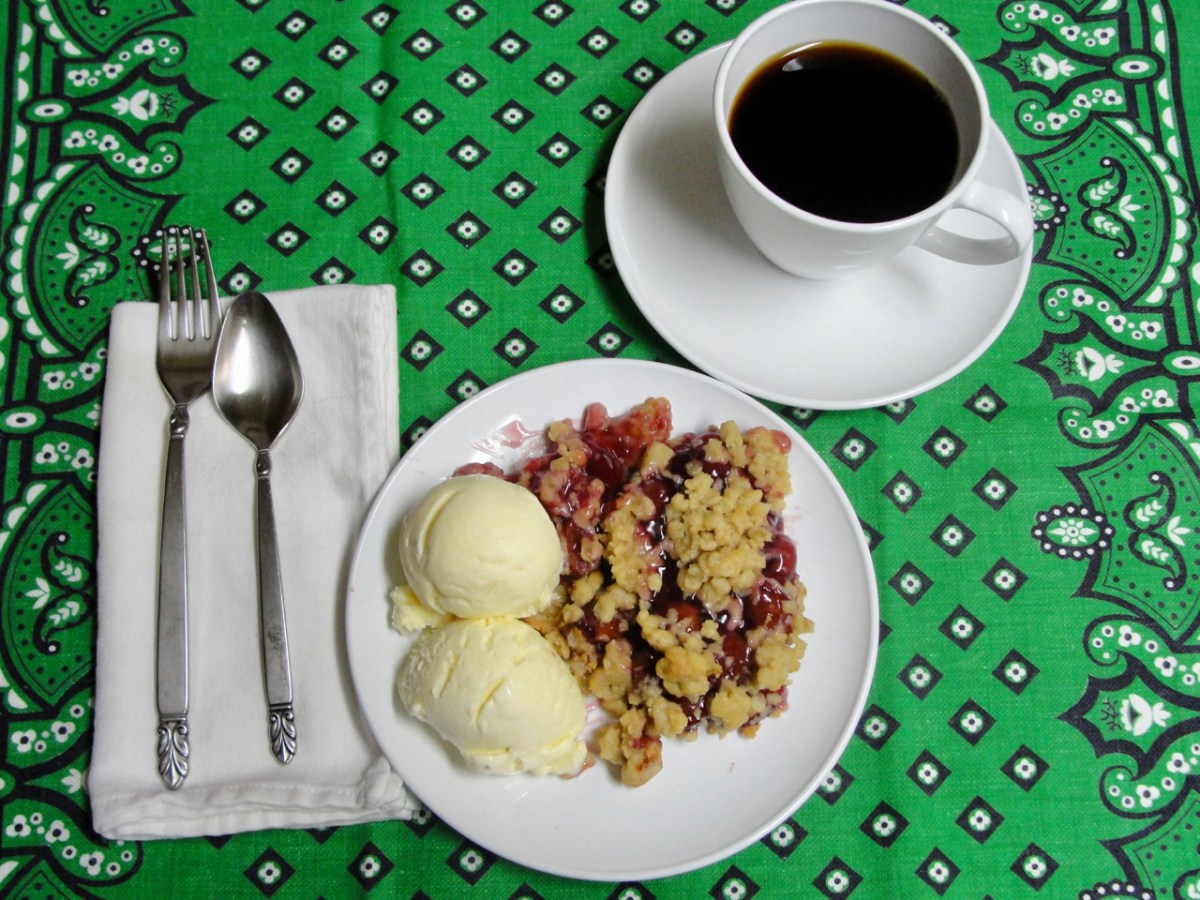
Cool the pie on a rack and serve with a scoop or two of good ice cream.
NOTES: It is a good idea to cover the edges of the pie with aluminum foil if they begin getting too dark. If you bake lots of pies, you should consider a pie crust shield. It is just a ring of thin aluminum that covers the edge of the crust as it bakes.
And of course you can substitute cultivated (tame, we called them) blackberries. The pie will still taste pretty darn good.