

About three months after my mother died, my siblings and I met at the “home place” to sort the contents for an estate sale. In the kitchen and back room (where the dining table was) we found things that I had never seen. My mother liked to try new cooking equipment she saw on TV or featured in stores. There were gadgets for chopping vegetables, juicing fruits and specialized electric devices for cooking things like toasted sandwiches. I think that Mom was making paninis before I had even heard of them.
One of the items that I found there was a “Crepe Magician,” which I stored next to my desk for over sixteen years without opening the box. The flap of the carton is worn, which proved that Mom had used the pan. Finally one day I carefully pulled back the flap and removed the pan, a covered plastic plate for storing finished crepes and a little recipe book. Molded into the bottom of the pan are the words: “Made in U.S.A.”
The fact that I would be using a genuine American-made pan encouraged me, but the idea of flipping crepes as Julia Child did on her TV program was intimidating. I have flipped many things out of frying pans in my life. Fish fillets, hamburgers and hot dogs seem to develop a life of their own when I try to turn them over. I have dribbled pancakes over skillets at home and over campfires, and I once flipped a grilled cheese sandwich so skillfully that it landed about three feet from the range on the floor.
However, the instructions for cooking crepes in the little recipe book told me that I did not need to flip the crepe, which probably explains why it is called the Crepe Magician. I got out our electric mixer (1960’s vintage), dumped the ingredients into a pouring cup, beat everything together until it looked smooth and put the cup in the fridge for an hour as the recipe instructs.
The first couple of crepes did not look very inviting, but I learned to loosen the edges of the crepe with a small wooden spoon and soon was dropping rather dark crepes onto the plastic plate like a pro.
Once I had the heat adjusted properly, I made a dozen beautiful crepes in just a few minutes, and we filled them with a recipe from the little cookbook that came with the pan. The recipe called for leftover turkey, mushrooms and spinach rolled in the crepes and covered with a creamy Parmesan cheese sauce. They were delicious.
Jerri and I agreed that my first crepes were a success, so we had one more reason to bless my mother’s memory. Crepes are perfect for using up leftovers, they make meals high in flavor but low in carbs and calories and you can use them for desserts that look elegant and taste wonderful.
Here is the recipe from the Crepe Magician.
INGREDIENTS:
1/2 cup all-purpose flour
1/2 tsp. salt
1 cup milk
4 large eggs
3 T butter
PROCEDURE:
Blend the flour and salt in a one quart pouring cup or measuring bowl. Melt the butter in a small bowl and allow it to cool slightly while you combine the liquid and dry ingredients. Add the eggs and half of the milk and beat with a rotary beater until the mixture is smooth. Beat in the rest of the milk and the butter. The batter should flow in a thin stream. If necessary, add a little more milk.
Cover the cup or bowl and let the batter rest in the refrigerator for at least an hour.
Put a non-stick pan over medium heat and very, very lightly grease it. When the pan is hot, pour just enough batter into the pan to make a very thin seven-inch cake. If you pour in too much batter, you can pour it back into the cup.
If the temperature is set correctly, the edges of the crepe should turn slightly brown and the top should be dry in thirty to forty seconds. Loosen the edge with a wooden spoon and turn the crepe upside down on a plate. You will be looking at the public side of the crepe. Adjust the temperature of the burner if the crepe doesn’t look quite right and repeat until you have used all the batter.
Crepes are usually served by putting some kind of filling on the “private” side of the crepe and rolling it up like an enchilada. You can fill crepes with just about anything from scrambled eggs to fresh fruit.


Here are two photos showing how to serve crepes with fresh blueberries and whipped cream. I will post a few recipes for other fillings and sauces from time to time.
NOTES: First a note on the pronunciation of “crepe.” Having been introduced to crepes in Europe many years ago and watching Julia Child make them on “The French Chef,” I have always used the French pronunciation. The French say “crepe” to rhyme with “crept” without the “t.” In the United States and other countries, some people pronounce the word to rhyme with “drape” while others use the French pronunciation. It’s your choice.
Second, you don’t need a special crepe pan. A small non-stick frying pan or skillet will work, but a pan like our Crepe Magician makes it really easy to make nice round even crepes. You can spend a lot of money if you want, but you can also find a non-stick crepe pan like ours for less than $20.
And third, flipping a crepe just produces a few brown spots on the “private” side of it. Nobody but the cook sees the private side, so why worry about how it looks? Crepes are rolled up or folded before you serve them so your guests will see only that beautiful public side. You don’t have to flip them if they are cooked through when you tip them out of the pan. That’s why you want the tops to be dry. A crepe with a dry topside is done.
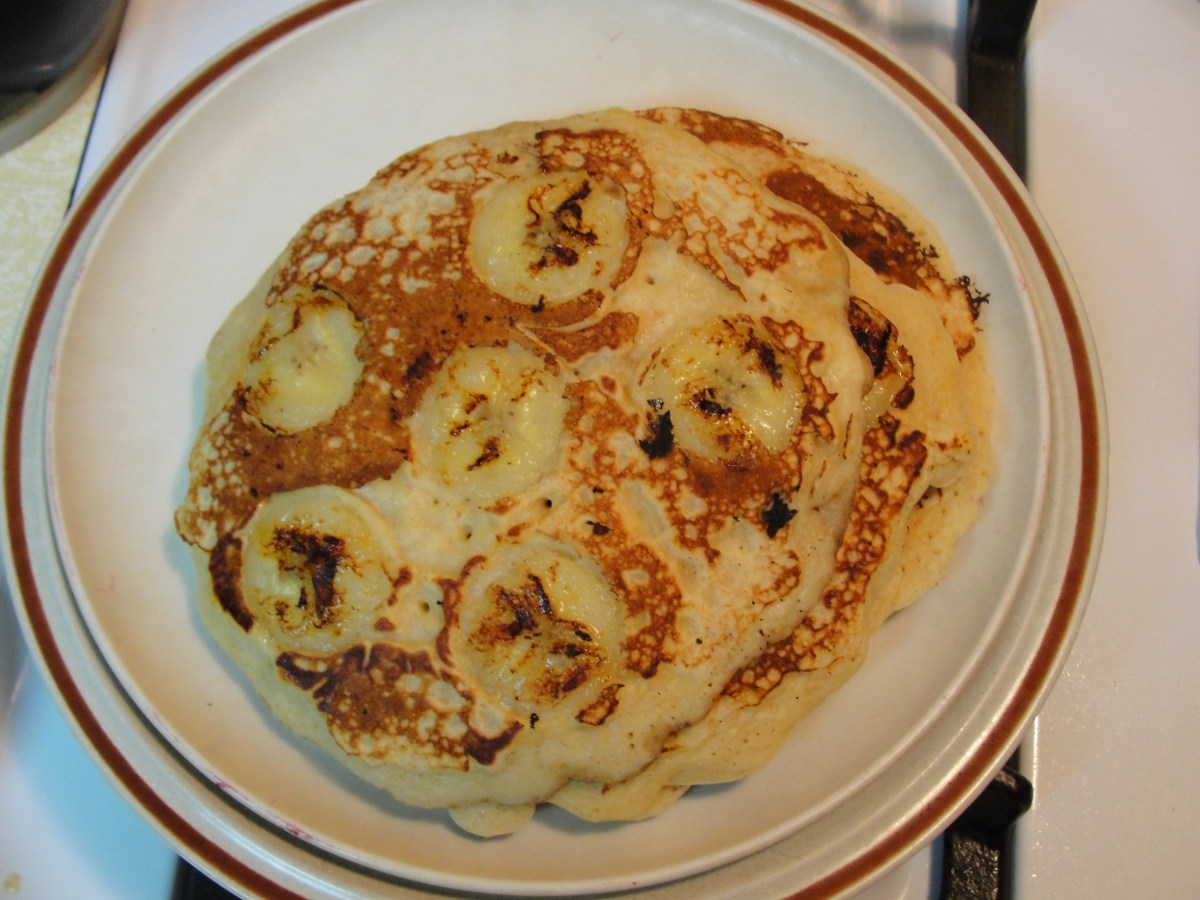
 Cut four to six thin rounds of banana on top of the batter. Cook each cake until bubbles start forming in the center and the edges are dry. Turn and brown it for a minute or two on the other side.