Mom’s No-Knead Rolls

On a sheet of unlined 8 1/2 by 5 1/2 inch paper from the kind of tablet Mom bought for writing letters is her recipe for No-Knead Rolls. It’s one of a hundred or more recipes jammed into a recipe card box. Mom scratched “From Charles XMAS 1955” on the back of the box so I gave it to her when I was twelve years old.

Recipe box
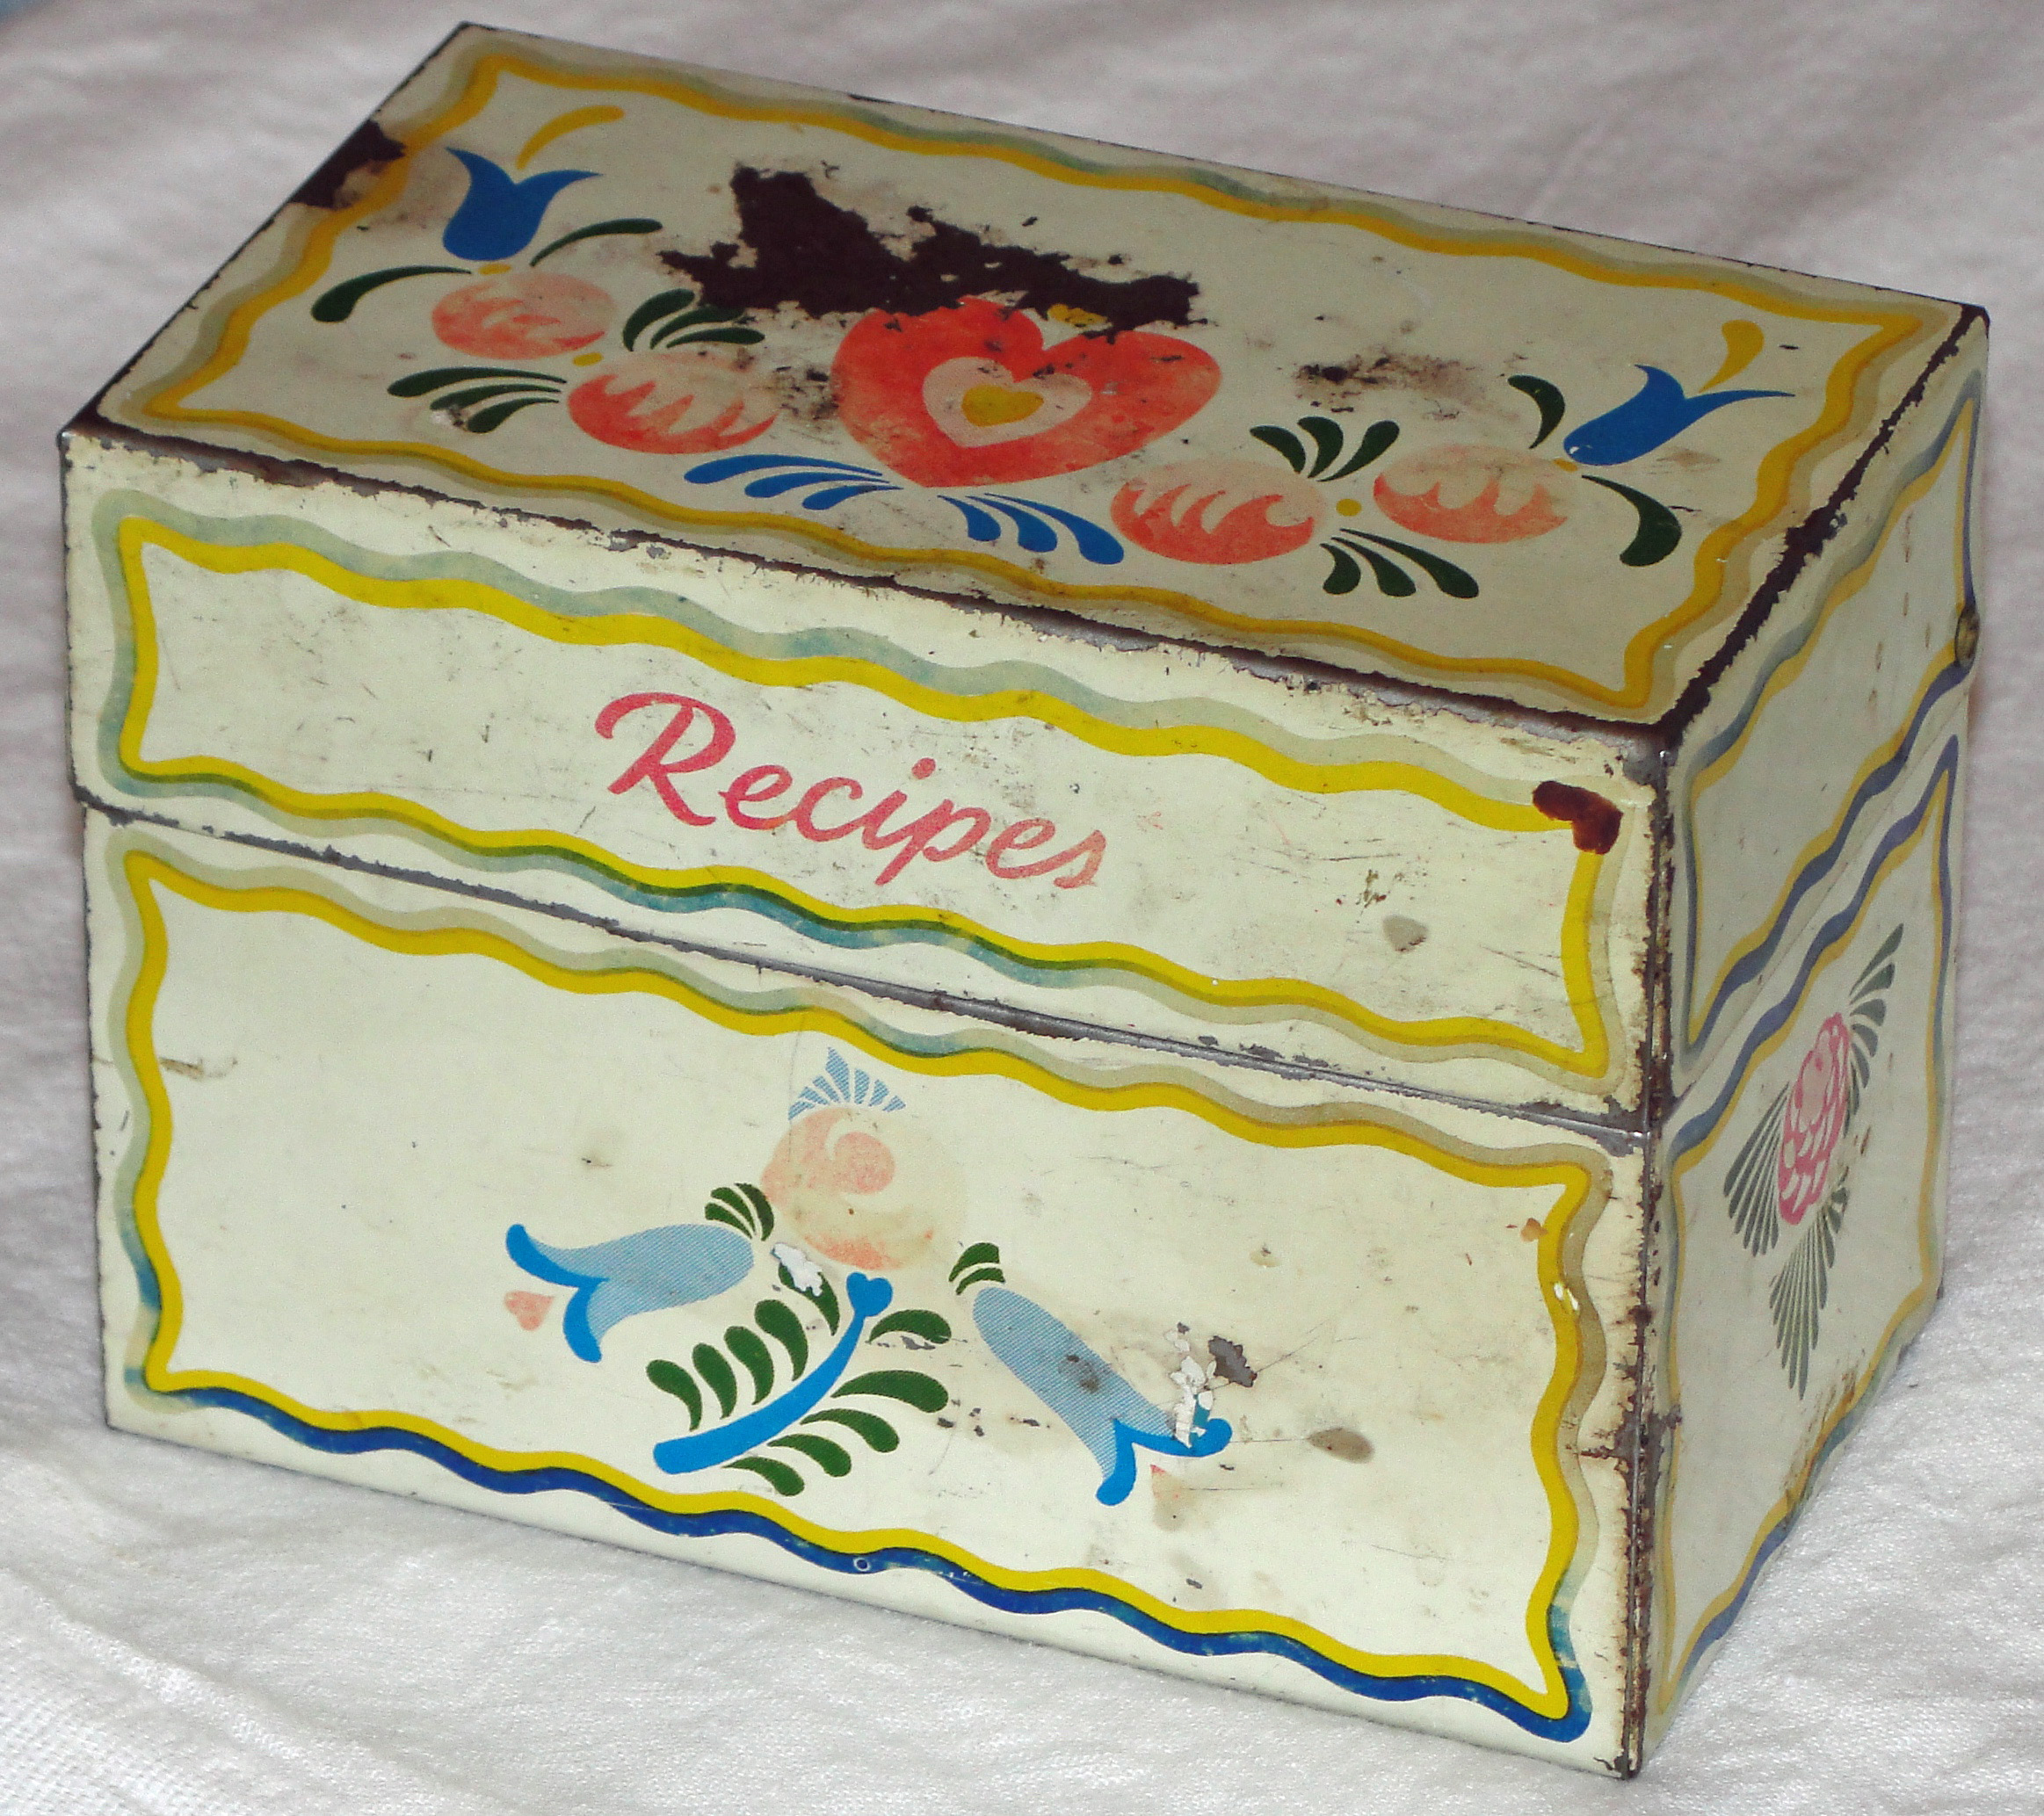
It’s a tin box made in the USA by the Ohio Art Company with a floral design and “Recipes” imprinted on the front of the hinged cover. Last year I found one like it offered as a collector’s item on ebay. My sister, Patsy, who is the guardian of most of Mom’s recipe books, loaned it to me two years ago, and I have been reading through the recipes as I look for ones that seem familiar to me.

Before listing the ingredients Mom noted that the recipe makes one and half dozen rolls. This suggests why she saved this recipe. Mom baked lots of bread, but sometimes she would want to have rolls to serve warm from the oven rather than slicing bread she had baked a day or two earlier. This recipe produces enough rolls to satisfy a table of guests without burdening the breadbox with too many leftovers.

If there were any rolls left over, she could always offer to wrap a few for someone to take home. Odds are good that there were takers. These rolls are delicious, especially if you add the cup of cheese Mom suggests to make cheesy dinner rolls.

INGREDIENTS:

3/4 cup water, divided
1 1/2 tsp. salt
1/4 cup sugar
3 T shortening
1/2 cup evaporated milk
2 1/4 tsp active dry yeast (1 package)
1/4 cup warm water
2 large eggs
3 – 3 1/2 cups sifted all-purpose flour

PROCEDURE:

Bring a half cup of water to boiling and pour it over the salt, sugar and shortening in a mixing bowl. Stir until the shortening is melted. Heat a quarter cup of water to lukewarm in a cup or small bowl and stir in the yeast to proof.

Stir the evaporated milk into the hot water and shortening and allow it to cool to lukewarm. Add the proofed yeast to the other liquid ingredients. Beat the eggs until they are lemon colored and stir them into the liquid in the mixing bowl.

Stir about half the flour into the liquid and mix it well, then beat in more flour a half cup at a time until you have a stiff but not a dry batter. You will know it is the right consistency when the batter becomes elastic and follows the spoon as you stir. Cover the bowl with a damp kitchen towel and set the bowl in a warm draft-free place. Let the dough rise until it has doubled in bulk, usually in about an hour.

Stir the dough down and let it rest while you grease muffin tins with enough cups for eighteen to twenty rolls. Fill the cups a little more than half full and cover the tins with the damp towel.

Preheat the oven to 375º about twenty minutes after filling the muffin cups. Put a couple of tablespoons of water in any empty cups. When the dough rises to the top of the cups, put the tins on the center shelf in the oven and bake until the rolls are lightly browned, fifteen to twenty minutes.

NOTES: Mom’s recipe card included an option for “cheesy dinner rolls.” Fold a cup of shredded sharp or extra sharp Cheddar cheese into the batter just before you fill the muffin pans. I have tried it, and the rolls are wonderful this way too.

This recipe is perfect for the beginning baker. It will teach you that making bread dough is not difficult, that you can adjust the liquid and dry ingredient ratio if necessary and that yeast really does make dough rise. There’s no need to knead. You just stir and spoon the batter into the muffin tins, let it rise again and bake the tasty little morsels.

This recipe is a good one for learning to trust your eyes. Open the oven door after fifteen minutes to see how your rolls are browning. If they look done, take them out. If it turns out you should have baked them longer, they will still be edible. If you must, you can finish them in the microwave for a few seconds.

Vegetarian Burritos Deliciosos

The first time I tried hot and sour soup, I was a student at the University of Wisconsin. When I asked what the floppy white stuff in the bowl was, my date told me it was tofu. Having grown up near Milwaukee, she was more knowledgeable about foreign foods than I. She probably even knew that tofu was made by coagulating soy milk and pressing the curds, somewhat like making cheese.

In the past fifty years I have eaten my share of tofu strips in hot and sour soup, and I now am a bit disappointed if the soup is short on that ingredient. However, I have stoutly resisted tofu burgers, tofurky, mock chicken drumsticks and other such things made with tofu. I like my meat to be an honest chunk of animal protein, well marbled if it is a steak.

This is the recipe that inspired Lorrie’s version of Burritos Deliciosos which is already on Courage in the Kitchen. Lorrie found the recipe in Recipes from a Vegetarian Goddess by Karri Allrich. While Lorrie chose to substitute chicken for the baked tofu, Karri’s recipe forced me to learn how to bake the stuff. Here is what I did.

INGREDIENTS:

6-8 oz. extra or super firm tofu
1 T vegetable oil
1 T soy sauce
1 T cider vinegar
1 T water
1 generous tsp. Mexican seasoning (recipe below)

PROCEDURE:

Make a marinade by mixing the oil, soy sauce, vinegar, water and Mexican seasoning together in a quart bowl. Slice the tofu block into half-inch thick slices. Spread the slices on a couple layers of paper towels, cover with two more paper towels and put a plate on top. Put some weight on the plate. Three or four cans of vegetables work well. Leave the weight on the tofu for thirty minutes to press out as much moisture as possible. Cut the slices into half inch by one-inch strips.

Put the strips into the bowl and turn the tofu to make sure that all pieces are covered with marinade. Put the tofu into the refrigerator for thirty minutes, stirring it two or three times.

Preheat the oven to 450º while the tofu is marinating.

Drain and spread the tofu in a single layer on a baking sheet lined with parchment paper. Put the pan on the center shelf in the oven and bake for ten minutes. Use a spatula to turn the tofu and bake ten minutes longer. Remove it from the oven and add it to the vegetables. Taste a couple pieces of the baked tofu before you dump them into the skillet. I did and was pleasantly surprised that they tasted really good right out of the oven and even better in the burritos.

After baking the tofu you need to begin work on the burritos.

INGREDIENTS:

6 large burrito-size tortillas
2-1/2 to 3 cups cooked Texmati rice
1 can black beans
3 limes
2 T extra-virgin olive oil
1 Spanish or other sweet onion, diced
1 red bell pepper
6 cloves garlic
1/2 tsp. chili powder
1/2 tsp. cumin
6 oz. baked tofu, seasoned Mexican-style
1 cup sweet corn, fresh or frozen
Sea salt (1/4 to 1/2 tsp. to taste)
Freshly ground black pepper (1/4 tsp.)
1/4 cup fresh cilantro
1 avocado
Salsa (optional)
Sour cream (optional)

PROCEDURE:

Start by preparing the ingredients. To cook the rice, follow the instructions on the package or use this simple recipe: Put a cup of uncooked rice in a covered one quart saucepan. Add two cups of water and a quarter teaspoon of salt. Bring the pan to a boil, stirring the rice a couple of times. Reduce the heat to very low, cover the pan and simmer until all the water is absorbed, usually twenty-five to thirty minutes. Check at fifteen and twenty minutes to make sure that the rice is not boiling dry.

Drain and rinse the can of beans. Remove the root and stem ends and outer skin of the onion and chop it into a quarter to half inch dice. Set the onion aside in small bowl. Wash the pepper, remove the stem, seeds and white membrane and dice it as you did the onion. Remove the paper from the garlic and mince it. Set the pepper and garlic aside in a separate bowl. If the corn is frozen, measure a cupful into another bowl and allow it to thaw while the rice is cooking.

Preheat the oven to 300º and wash and chop the cilantro.

In an ovenproof casserole dish, mix the black beans with the cooked rice, and pour the juice from one and one-half limes over the rice and beans. You should have about two tablespoons of juice.  Stir well to mix.  Turn off the oven, cover the dish with aluminum foil and place it in the preheated oven to heat through.

Heat the olive oil over medium heat in a skillet and sauté the onions until they are soft, four or five minutes.  Add the peppers and garlic, chili powder, and cumin and cook the vegetables for another five minutes, stirring often.  Stir in the tofu, corn, salt, and black pepper.  Stir well and heat the mixture.  Add the chopped cilantro and remove the skillet from the heat.

Peel and slice the avocado.

Remove rice mixture from the oven.  Warm the tortillas.  Spread a thin coating of sour cream on each tortilla. Lay a couple thin slices of avocado on the tortilla and spoon a portion of the rice and tofu mixtures near the center, then fold and roll the tortillas to form each burrito.

Serve them warm. If you wish, pass slices of avocado and lime wedges along with salsa and sour cream.

MEXICAN SEASONING: You can find Mexican seasoning in the spice section of most supermarkets, or you can make enough to spice up a lot of dishes in a few minutes.

INGREDIENTS:

1 tsp. chili powder
1 tsp. garlic powder
1 tsp. onion powder
1?2 tsp. crushed red pepper flakes
1?2 tsp. dried oregano
2 tsp. paprika
1 1?2 tsp. ground cumin
1?2 tsp. sea salt
1?2 tsp. black pepper
1 pinch ground cinnamon
1 pinch ground cloves

PROCEDURE:

Grind the pepper flakes and oregano in a mortar. Add the salt and black pepper and grind more to mix well. Add the other ingredients and grind briefly to mix everything together. Store in a tight container in a cool place out of direct sunlight.

NOTE: I’m still not a vegetarian, but I’ll be making this recipe again. The tofu is a great substitute for meat.