Pat’s Maple Oat Bread

There was a footpath through the woods from my grandparents’ farm east of Hayward to the home of Grandpa Hopp’s friend John Frogg south of Little Round Lake.  Grandpa told me that John Frogg was a chief of the Lac Courte Oreilles Ojibwe tribe and a very good man.  Grandpa and John must have walked that path pretty often because it looked well used on both ends. Grandpa told me it was about three miles through the woods but that it was pretty easy walking, and he didn’t get tired.  I walked only the first few blocks of it following Grandpa when he cut firewood along the path.

Near John Frogg’s home the path hit a road that led to a summer estate where my Aunt Helen and Uncle Ernie were caretakers.  Grandma never said so, but she may have walked that path to visit her grandchildren and their parents.  Of course, by then you could drive there, so maybe only Grandpa and John used the path.

One winter day as we were on our way to visit Aunt Helen and Uncle Ernie and my cousins, Dad saw that John Frogg was cooking something in a big iron pot hanging over a fire.  We stopped and tumbled out of the car.

“Hi John, how ya doing?” asked my father.
“Doing good, Hans,” said John as he stirred the pot with a stick.
“What you cooking?”
“Maple syrup.  It’s maple syrup time,” answered John.
“Do you sell any?”
“You bet.”
“How much?”
“Dollar a quart.”

And so we ended up with a quart of John Frogg’s maple syrup.

I did not like it.  It was smoky and very thick.  At the age of eight I still preferred Karo in the can.  Dad said it was delicious, Mom said it was pretty good, but my two younger sisters took one small taste and poured more Karo on their pancakes.

Today I wish I could taste John Frogg’s maple syrup again.  It might not win any prizes, but it would bring back some great memories.  We get most of our maple syrup today from John Hanson who sells it out of his home near Grandview, Wisconsin. and we use a gallon or so during the year, not just on pancakes and waffles but also in baked beans, barbecue sauce, caramel rolls and Pat’s Maple Oat Bread.

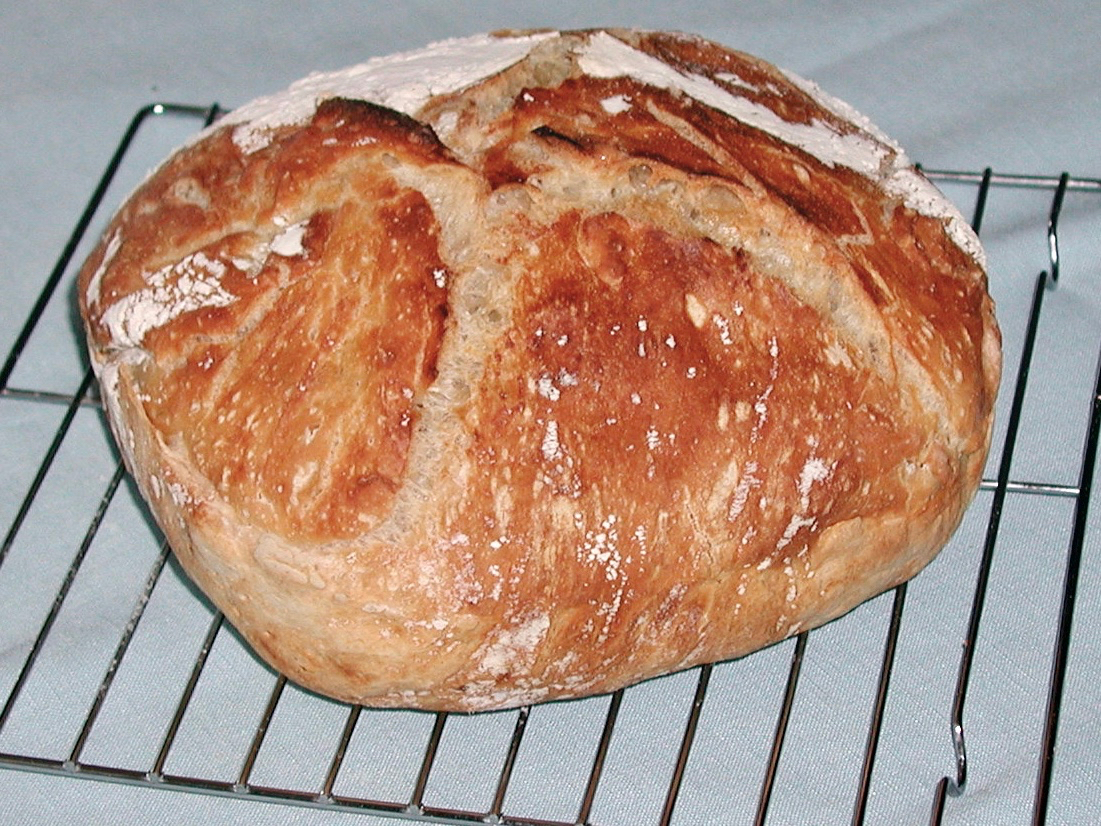
One day at church our friend Pat told me about a bread she makes with maple syrup and oatmeal.  I asked for the recipe and she emailed it to me.   I made the bread first to go with a roast turkey, and it was a hit.  It is a moist sweetish bread that keeps well. It is delicious by itself slathered with butter or with roast meats or various cheeses.

INGREDIENTS:

1 cup old fashioned rolled oats
1 cup boiling water
1 package active dry yeast
1/3 cup warm water
1/4 tsp. sugar
1/2 cup maple syrup
2 tsp. canola oil
1-1/2 tsp. salt
About 3-1/2 cups all purpose flour
1 egg white lightly beaten
1 T old fashioned oats for topping

PROCEDURE:

Put some water on to boil.  Stir a quarter teaspoon sugar and the yeast into 1/3 cup warm (100-110º) water in a small bowl or cup.  While the yeast proofs, process the oats in a blender until coarsely ground. Transfer the oats to a bread bowl and stir in one cup of boiling water.  Add the syrup, oil, and salt and a cup of flour to the oat mixture and stir until smooth, then allow it to cool to warm.

Stir in the yeast, then add about two more cups of flour one cup at a time and stir well.  Keep adding flour until the dough starts to pull away from the side of the bowl.  Turn the dough on to a well floured bread board and knead lightly until it is smooth and elastic.  Let it rest while you grease an eight inch pie pan.  Form the dough into a ball, put it into the pie pan and cover it with a damp cloth.

Preheat the oven to 350º.  Let the dough rise until doubled in size.

Beat the egg white with a teaspoon of cold water, brush the top of the bread and sprinkle it with some rolled oats. Bake the loaf on a middle shelf for 35 to 40 minutes until it is a rich golden brown.  Tip the loaf out of the pie pan and tap on the bottom.  The bread should sound hollow when you tap on it.  If it does not, put it back in the oven for a few minutes.  Let it cool well before you slice it.

NOTE:  You may need to loosen the loaf around the edges of the pie pan with a knife.

No-Knead Bread

Sometimes we are just plain lucky.  If my first loaf of no-knead bread had turned out like the second, I would not be sharing this recipe.  The story starts about three years ago when I happened on a recipe for a bread that was baked in a closed casserole to give the resulting loaf a crisp crust like the breads you find in some good artisan bakeries.

Since I had been trying to get a crisp crust on French bread for years, I decided to try it.  I stirred everything up and a day later had a loaf that was okay but could stand improvement.  A few days later I confidently stirred up a second batch, adding just a little more water to the dough in hopes that I would get a better crumb.

Disaster!  The bread welded itself into the pan.  It took me over an hour to remove the loaf in little pieces and soak the crust from the casserole.  However, since I knew that it was possible to bake bread in a casserole, I adjusted the water again and had another edible loaf in a couple of days.  The rest, as we say in our kitchen, is history.

I have made this bread over a hundred times since then, experimenting with different combinations and kinds of flours and making small improvements from time to time until at last we have a bread that we really like.

To make this bread you need a large bread bowl and a three or four quart covered casserole.  I use a stoneware bread bowl at home and a stainless steel one at the cabin. For baking we have a square three quart Corningware casserole at home and a large pyrex glass bowl at the cabin that I cover with a pie plate.  Both work fine, though the casserole has handles that make it easier to put into and take out of the oven.

Here is the recipe with my attempt to explain how to turn some simple ingredients into a loaf you will love.

INGREDIENTS:

3 cups bread flour plus extra as needed
1 cup rye flour
2 1/4 tsp. salt
1/4 tsp. sugar
1/2 tsp. active dry yeast
2 cups lukewarm water
1/2 tsp. honey

PROCEDURE:

First, a note about a timetable:  I like to start this bread after supper in the evening so I can bake it the following morning, but you might want to start it just before you go to bed, then wait until the following day after work to finish the job.  Letting it rise longer the first time will not hurt the bread.  In fact, if you are lucky you may get a hint of sourdough in the finished loaf.  This has happened to me when I let the dough rise nearly a full day.

Mix the flours, salt, sugar and yeast together in a large bread bowl. Add the lukewarm water and stir until well mixed.  If necessary, add a little bit of water so that all the flour is moist.  Stir vigorously with wooden spoon in a circular motion.  The dough should come away from the sides of the bowl.  If not, sprinkle a little more flour over the dough and stir some more.

Use a spatula to scrape the dough from the spoon and from the sides of the bowl.  Moisten the rim of the bowl and cover it with plastic wrap.  Set in a warm place and allow to rise for twelve to fifteen hours.  Remove the plastic wrap and dribble about a half teaspoon of honey over the dough.  With a wooden spoon scrape the dough from the sides of the bowl and stir the dough to mix in the honey and scrape down the sides of the bowl as before.  If all is going well, the dough should be extremely elastic.

Moisten the rim of the bowl and cover with the plastic wrap again.  Let the dough rise until it has some good-sized bubbles on the top, usually a couple of hours.  Spread three or four tablespoons of flour (all purpose flour is okay for this step) on a sheet of waxed paper about eighteen inches long, then sprinkle a little flour around the edges of the dough and use a spatula to release the dough from the bowl and tip it onto the waxed paper.

Use the spatula to fold the dough onto itself, adding more flour to the paper if the dough sticks.  Gather the wax paper corners together and clip them together to make a loose tent over the dough.  Set the dough in a pie plate and put in a warm place to rise.  I usually set a timer for fifty-five minutes.  When the timer sounds, put the casserole in the oven and preheat the oven to 425º Fahrenheit.  Just as a reminder, I now set the timer for about fifteen minutes.

When the oven and casserole are hot, it is time to transfer the dough from the waxed paper to the casserole.  This step is easier with two people, but you can do it alone.

Take the casserole from the oven and set the cover aside.  Grease the inside of the casserole with a little shortening.   A piece of paper towel and fork work well for this procedure.  Remove the clip from the waxed paper and drop the dough into the casserole.  Use a spatula to scrape any sticking dough from the paper.  Cover the casserole and return it to the middle shelf of the oven.  Set the timer for twenty-nine minutes.

When the timer sounds, remove the cover and allow the bread to continue baking.  Set the timer for another thirty minutes.  At the end of this time, tap the top of the loaf.  If it sounds hollow the bread is done.  Otherwise, allow it to bake another minute or so.

Tip the loaf onto a rack and allow it to cool thoroughly.

NOTE:  I like to use hard wheat bread flour for this recipe, but you can use all purpose flour as well.  The bread does not seem to rise quite as well with the all purpose flour.  You can also replace the rye flour with ordinary bread flour.   Like me, you may have to develop a sense for the right amount of water in the dough by making this bread a few times.  Don’t give up, as it is so good that you may find yourself making a meal of just bread and butter. It resembles the bread I loved when I was a student in Germany.

If you use the rye flour, you will find that this bread slices better a day after it comes from the oven. A German friend told me that I should wait a day before slicing “frisches Brot” (new bread) from the market.