
Here is another recipe from my brother-in-law Patrick, who grew up in Hibbing. His mother died in childbirth when he was four, and when he was six his father married Nellie. Patrick and his brothers got a stepmother who baked some special desserts that still rank high on the list of his favorites. Potica and rhubarb cake are near the top. He isn’t sure where she got the recipes. Nellie was from Duluth, so she might have brought them with her when she moved to Hibbing, or she may have gotten them from a relative there.
Potica (pronounced po-TEET-suh) is the Slovene version of a nut roll. Slovenia is a small country on the north coast of the Adriatic Sea bordered by Italy, Austria, Hungary and Croatia. The largest number of Slovenes came to the United States between 1880 and 1920. Many of them came to Ely, Tower, Hibbing and other cities on Minnesota’s Iron Range to work in the mines.
While the men worked in the mines, their wives worked in their kitchens. They used the recipes they had learned from their mothers, and one of those recipes was for a special bread called potica. Of course, people from other countries also came to the Iron Range. One of them was Giulio Forti, who opened the Sunrise Bakery with his wife,Virginia, in 1913.
When their oldest son, Vincent, married the daughter of a Croatian immigrant in 1932, she taught him how to make potica. For over twenty years he baked it for friends and family, but finally, Vincent’s daughters persuaded him to add it to the regular offerings of the bakery. Today, the descendants of Giulio and Virginia ship thousands of loaves of potica to customers around the world from the Sunrise Bakery.
The dough for Sunrise potica is stretched paper thin, but many housewives on the “Range” simply roll the dough out as thin as they can and spread a generous layer of filling on it That is how Nellie made hers. The thinner you roll it, the more authentic your potica will be, but it will always taste good.
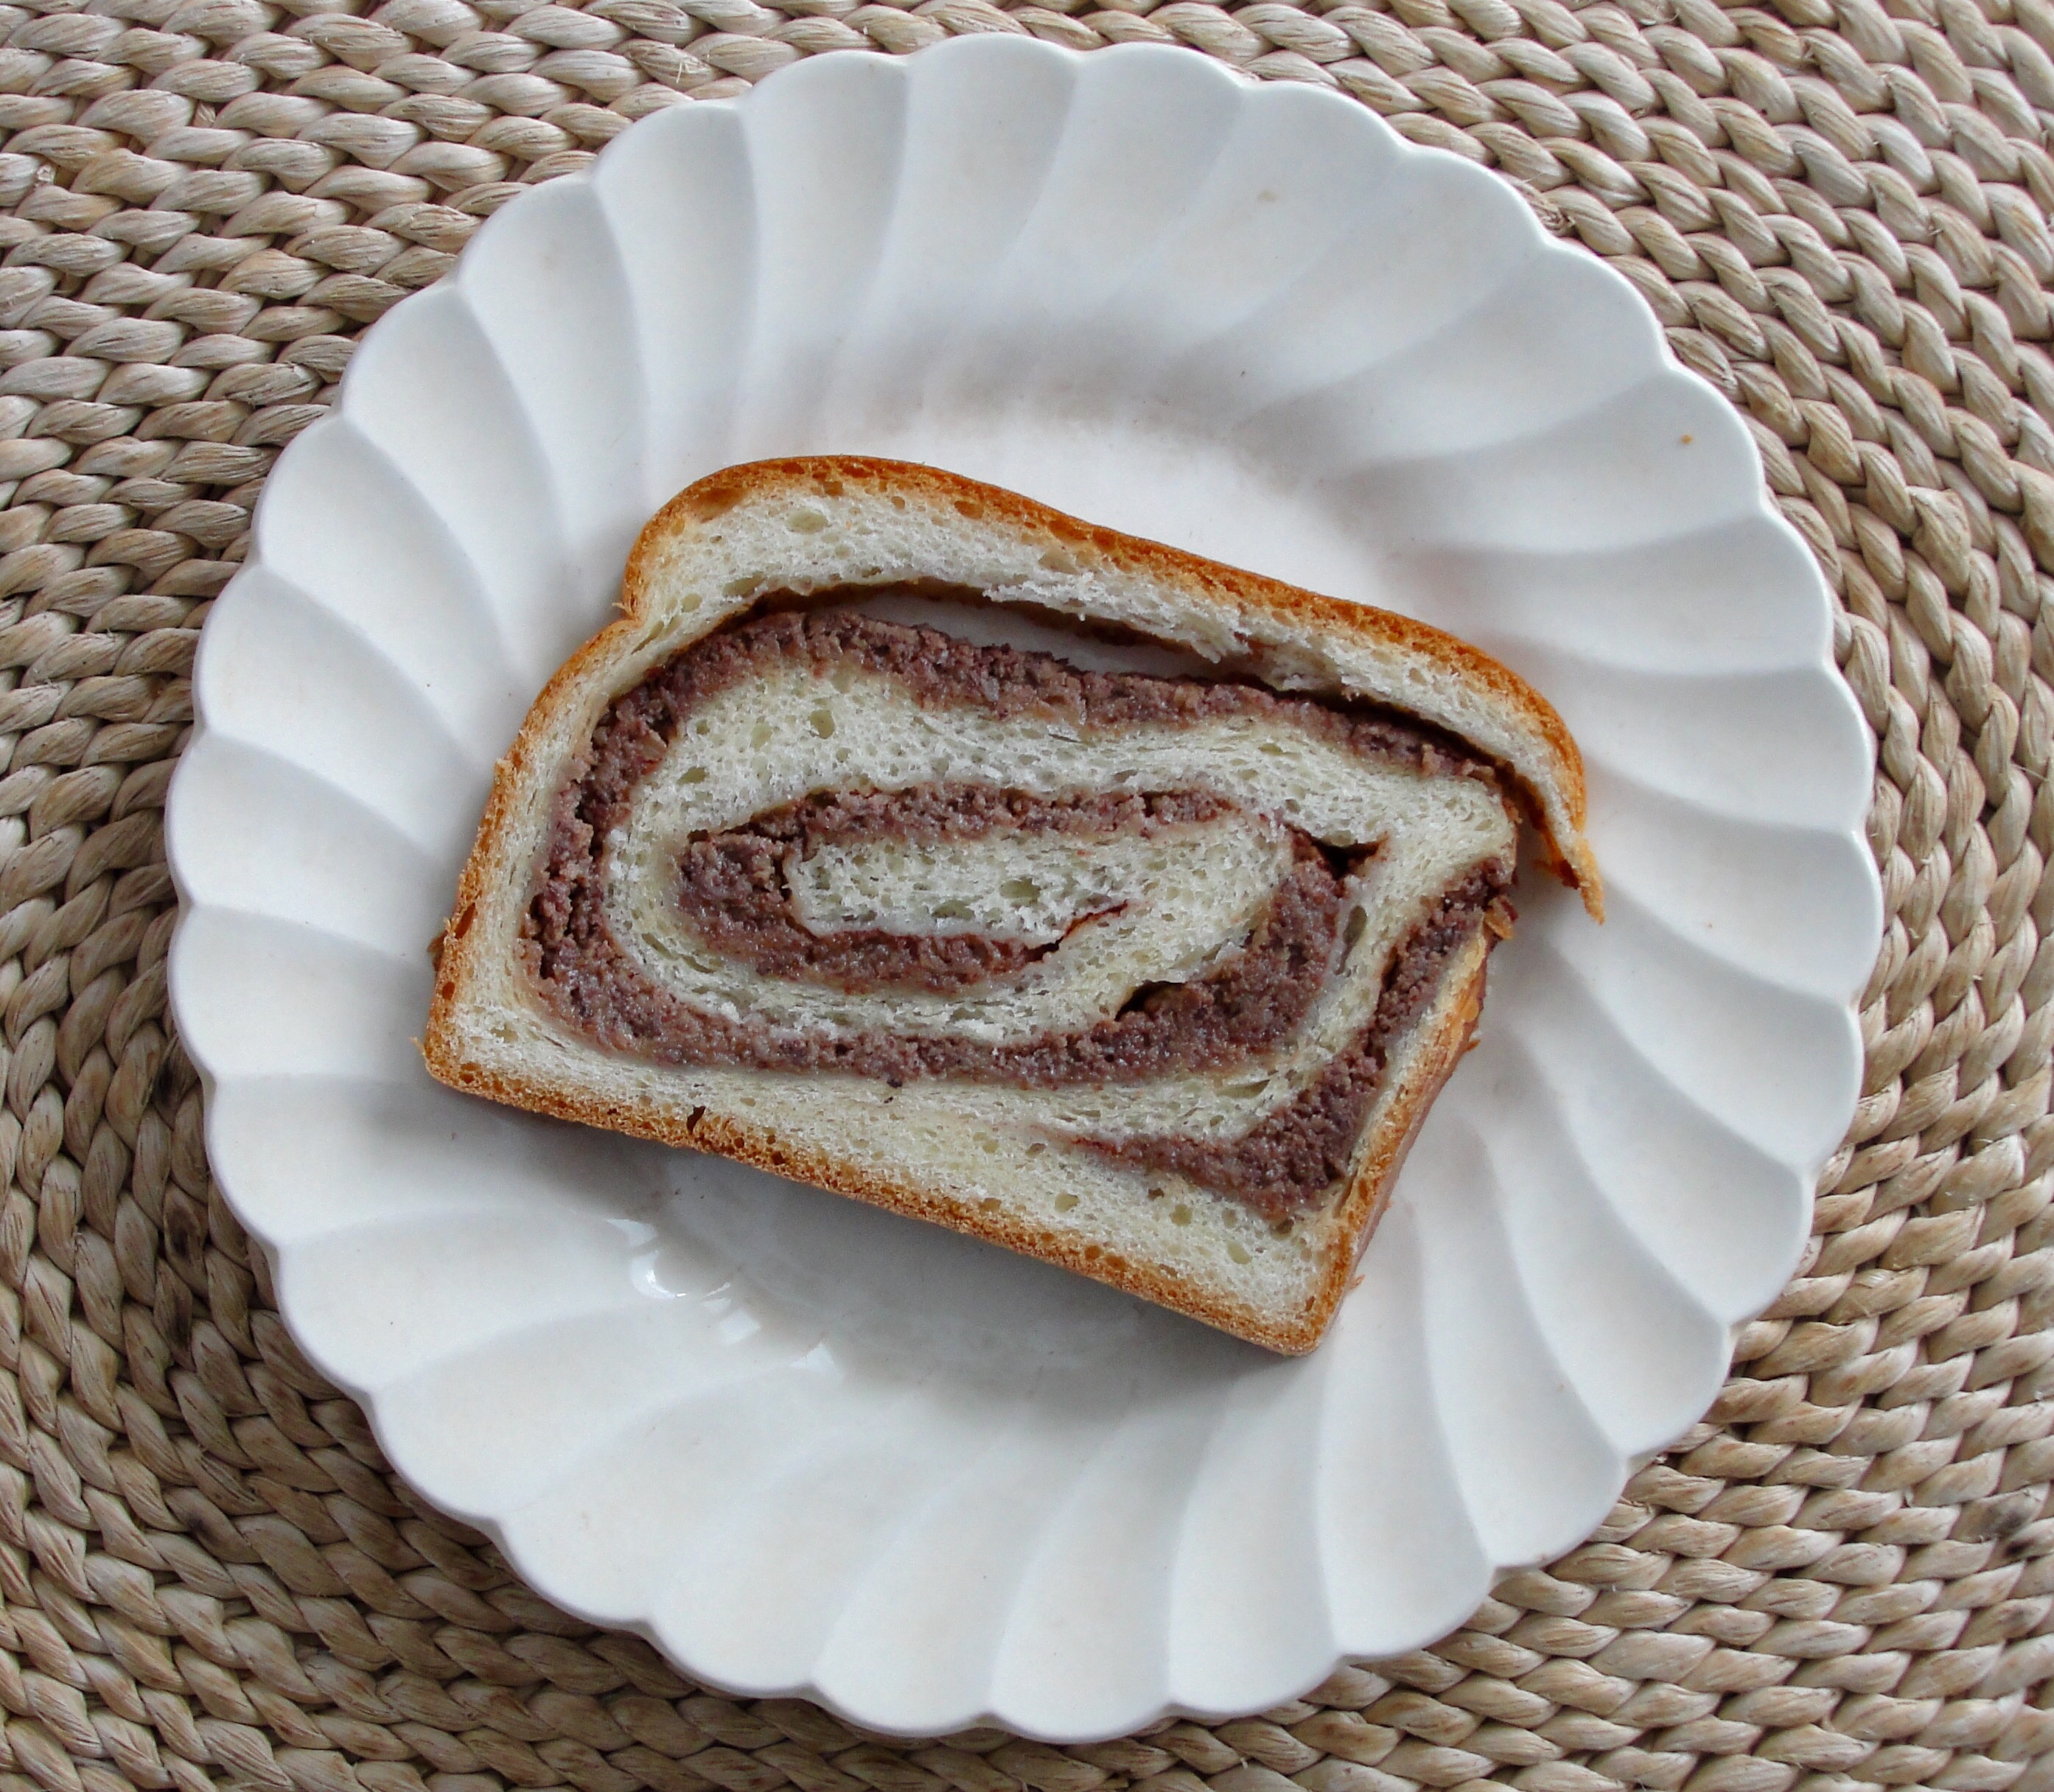
Here’s slice of my potica.
INGREDIENTS:
Dough:
1/2 cup water
4 tsp. yeast
2 cups scalded milk
1/2 cup sugar
3 tsp. salt
2 eggs
6 T butter
6-7 cups flour
Cinnamon and sugar when forming loaves
Nut Paste:
1 lb. ground walnuts
1 cup honey
1 cup milk
1 egg
PROCEDURE:
As usual, scrub your hands well as you will be kneading dough.
Dissolve the yeast and a quarter teaspoon of sugar in a half cup of lukewarm water. Heat the milk until it is steaming and put it into a large mixing bowl. Stir in the butter, salt and sugar into the hot milk. When the milk has cooled to lukewarm, beat in the two eggs and a cup of flour to make a thin batter. By this time the yeast should be foaming. Stir it into the batter.
Continue adding flour a cup at a time, beating thoroughly after each addition, until the dough begins to come away from the bowl. Turn the dough out onto a floured board and knead until it is smooth and satiny. This will take six or seven minutes. Form the dough into a ball.
Grease the bowl with butter or shortening and put the dough into the bowl, turning the ball to coat the surface with grease. Cover the bowl with a damp kitchen towel and set the bowl in a warm, draft-free place until the dough has doubled in bulk.
Make the nut paste while the dough is rising. Use a fork to mix all the ingredients together to make a smooth batter in a three quart saucepan. Set the pan over medium heat and bring the batter to a simmer, stirring continuously. When the batter just starts to steam, reduce the heat to low, keep stirring, and cook the batter until it turns to a smooth paste. Cover the pan and keep it warm on very low heat until you are ready to spread it on the dough.
Grease three loaf pans and melt a stick of butter in a small bowl or pan.
Turn the dough onto the floured surface and knead it five or six turns. Divide the dough into thirds.
Roll the first third of dough into a rectangle on a well-floured surface. The dough should be as wide as your loaf pan and as long as practical. Paint a layer of butter on the dough and sprinkle it with sugar and cinnamon. Spread one-third of the nut paste on the dough. Starting at the narrower end, roll the dough tightly as if you were making a jelly roll. Tuck the ends of the loaf together and put the loaf into the pan. Repeat these steps for the other two pieces of dough.
Put the pans in a warm, draft-free place and cover them with the damp towel. Preheat the oven to 350º while the loaves are rising. When the dough is even with the tops of the pans, place them on the center shelf of the oven and set your timer for thirty minutes. Turn the pans to help with even browning after thirty minutes and set the timer for another ten minutes. Check the loaves regularly after the timer sounds the second time and remove them from the oven when they are golden brown and sound a little hollow when tapped on top.
Brush the hot loaves with a little butter. Let them cool a few minutes in the pans, then carefully remove them from the pans and allow them to cool thoroughly on a rack.
NOTES: Nellie’s recipe does not say how much sugar and cinnamon to use when you assemble the loaves. I sprinkle three or four tablespoons of ordinary granulated sugar over the butter followed by a half or three-quarter teaspoon of cinnamon sprinkled on the sugar before I spread the nut paste.
If you can keep the loaves straight you might try varying the amounts of sugar and cinnamon in each loaf the first time you make potica and using the amounts you prefer the next time you make it.
Whole milk works best for making potica. You can fortify that reduced fat milk with some half and half or heavy cream or even with some melted butter.
The first time I made potica I used ground pecans sent to us by one of Jerri’s nieces. The potica was delicious.
My sister Patsy bakes her potica on baking sheets instead of loaf pans. Take your choice.
